Electric Mountainboard
Introduction#
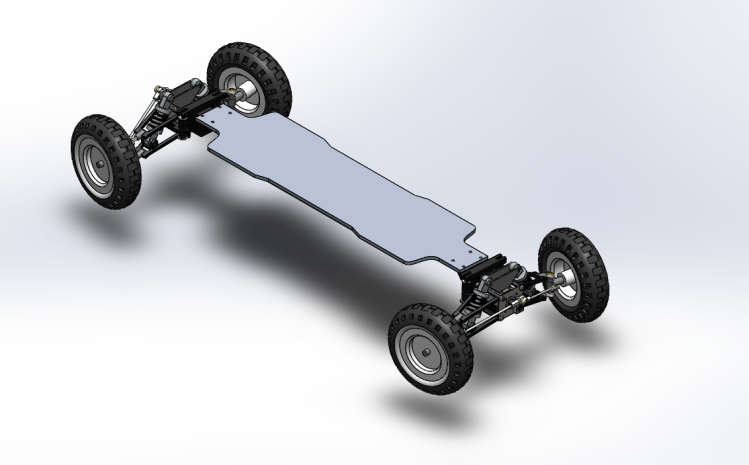
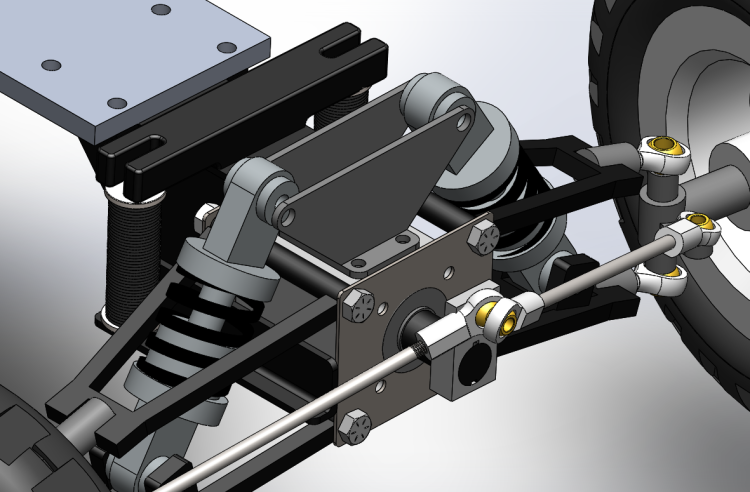
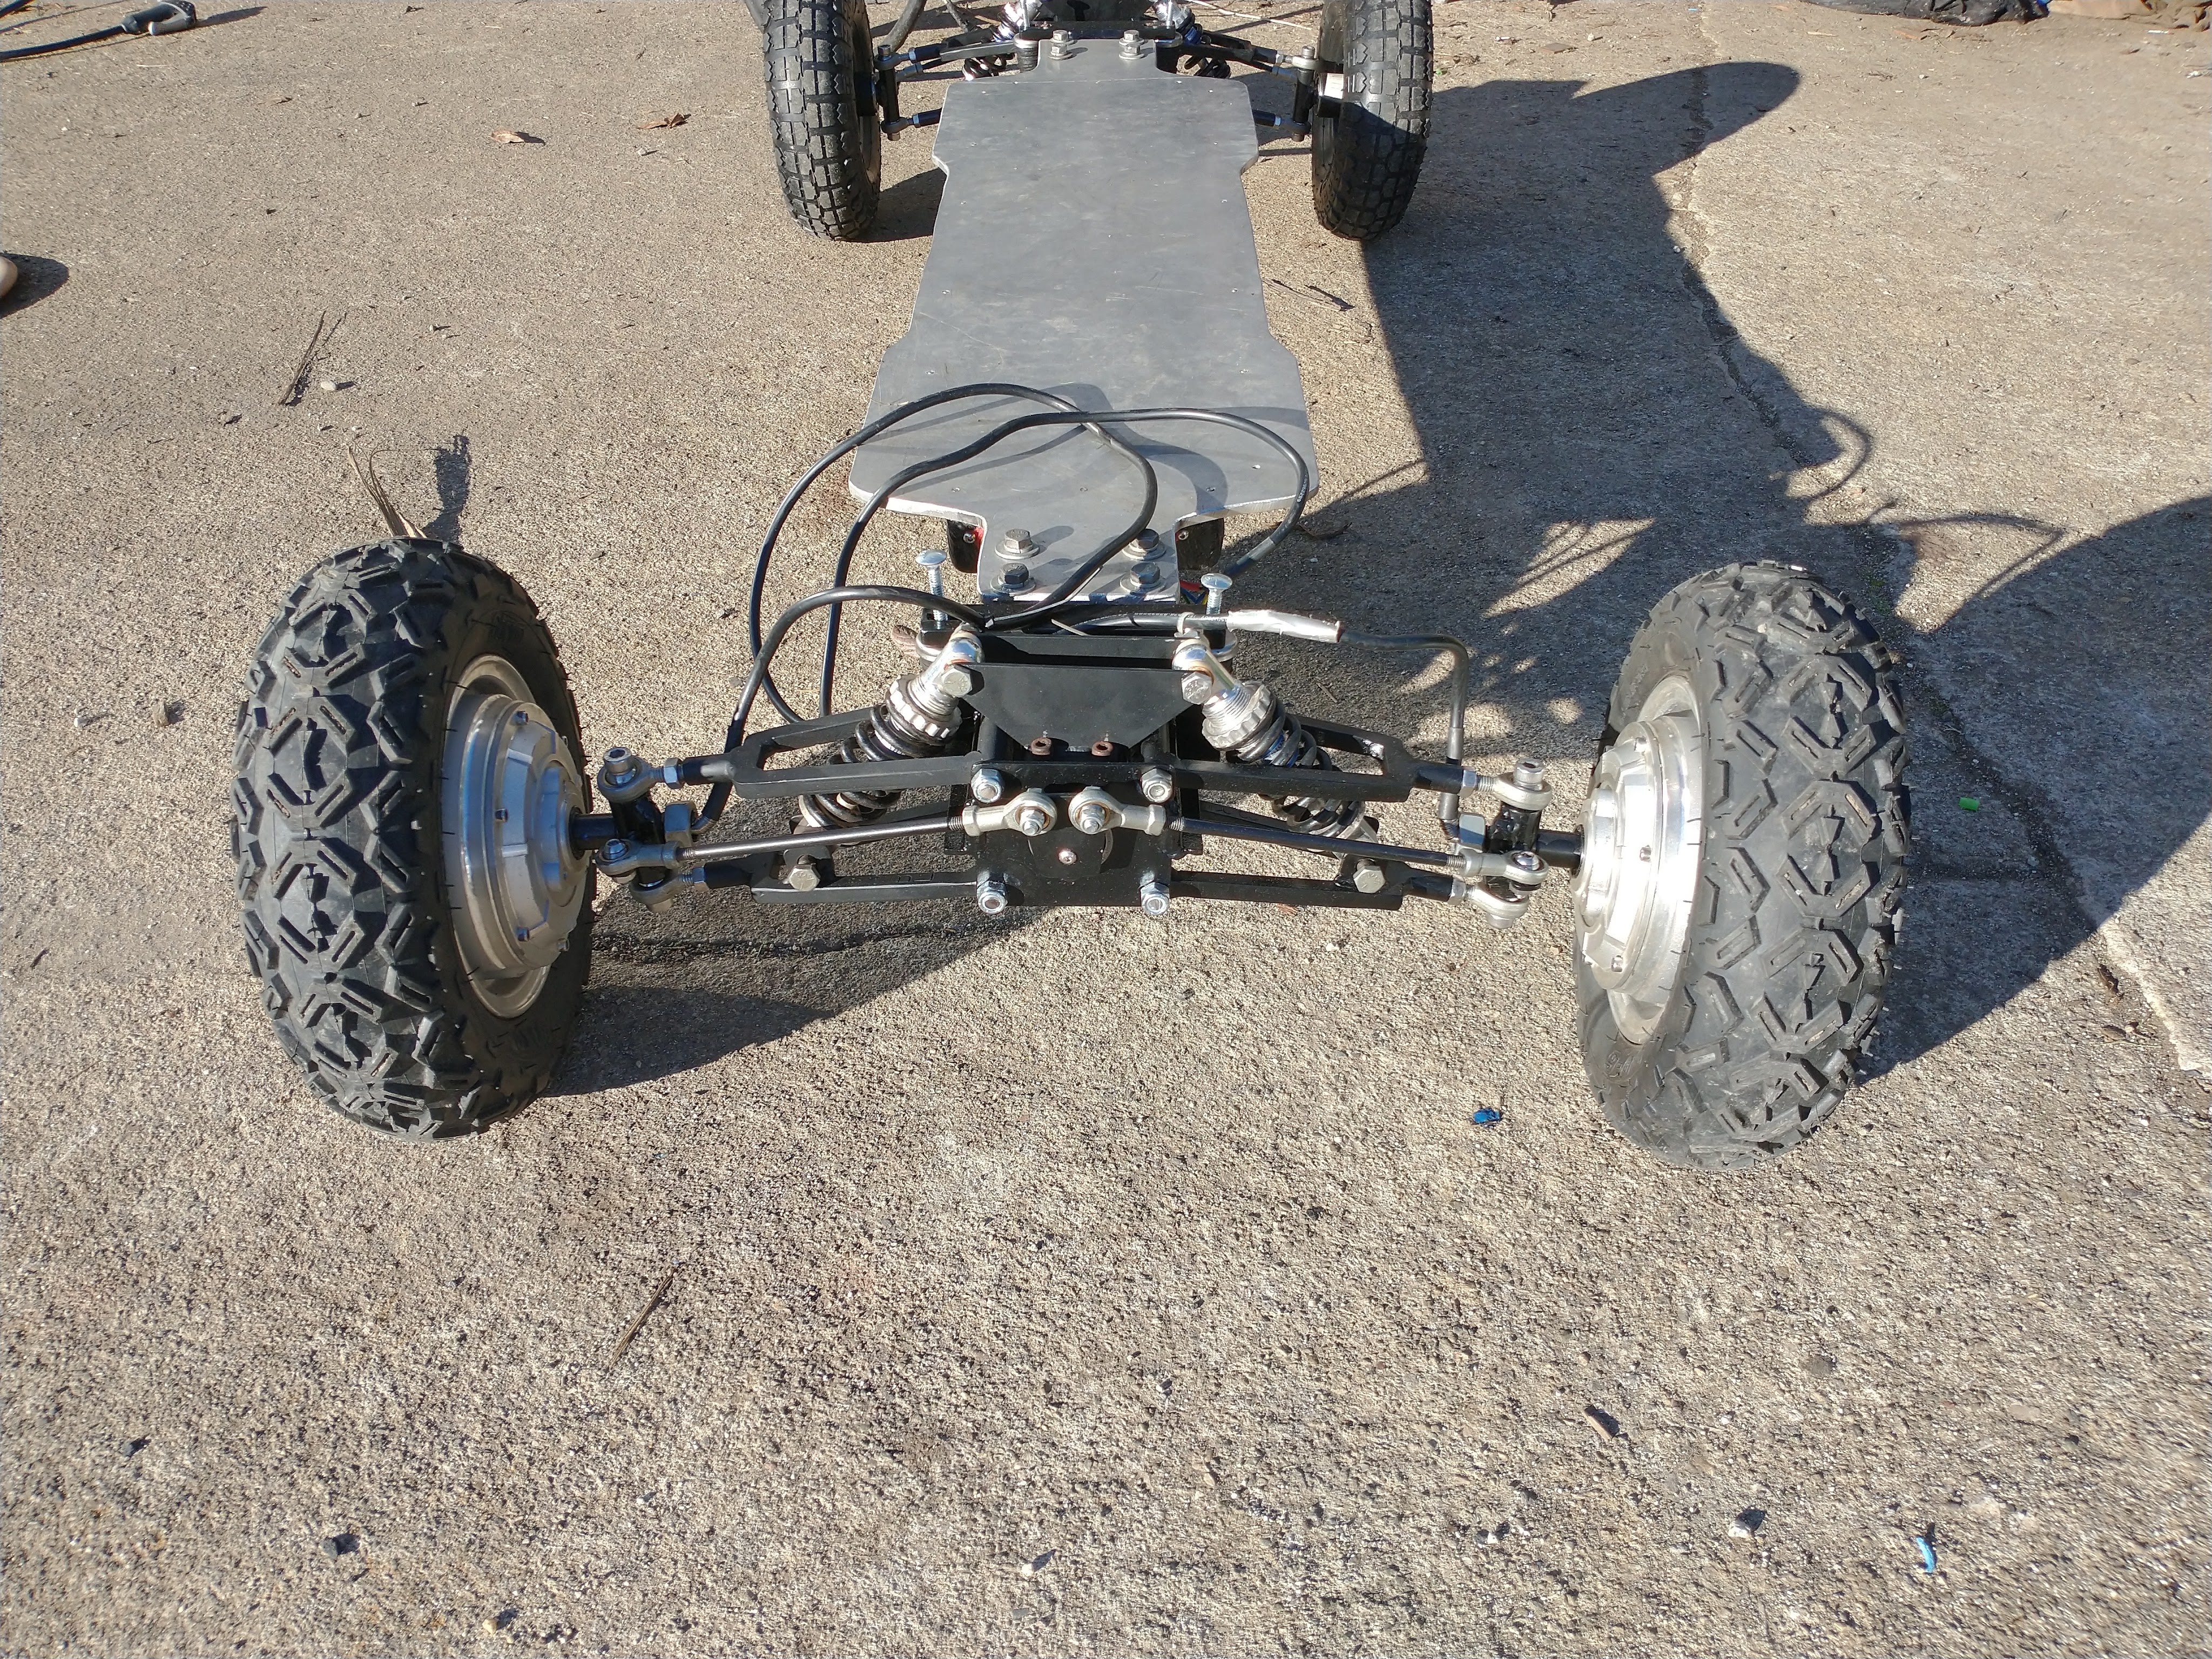
The sidewalks of MIT are not exactly smooth enough for normal skateboarding. This however, the BOAT has 10 in tires and independent suspension to handle the lunar landscape that are the streets of Cambridge. Behind the suspension you’ll see the spring return system. It turns out that mountainboard springs are exceptionally expensive so I had to come up with something else. Rubber innertubes are free so I punched out circles and stacked them into rubber springs.
Deck#
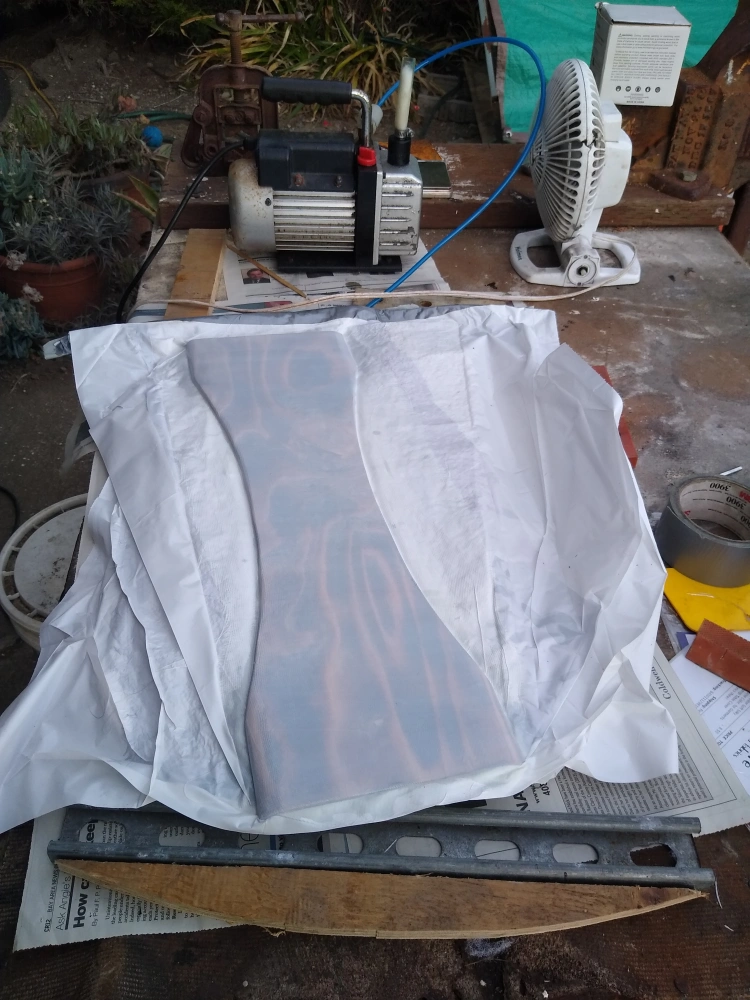
I didn’t have any steel on hand so I started with the deck. After my early attempts with vacuum bagging fiberglass composites on the kayak restoration, I was feeling pretty confident with the process. The deck is 3/4in home depot plywood with a layer of fiberglass on either side. No peel ply or breather in an attempt to get a nice, shiny side. Worked out reasonably well, though one edge folded over.
Battery#
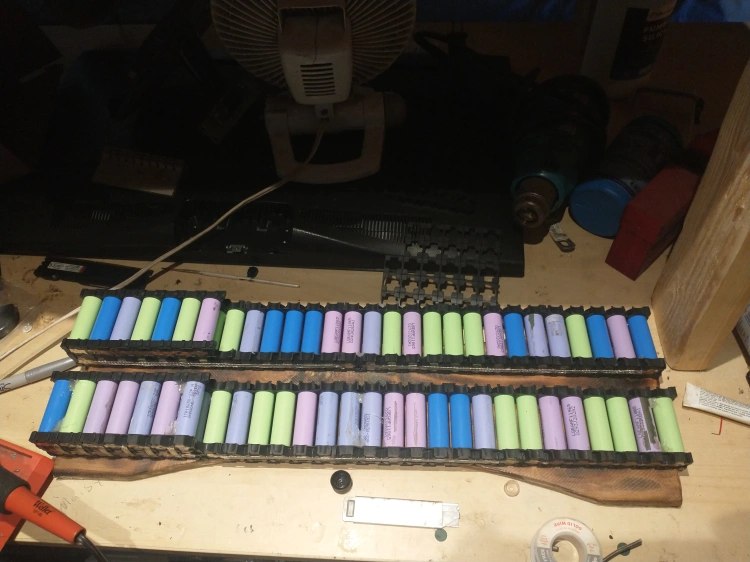
Big board means big battery. 10s 7p specifically. This is my second attempt building a battery from scratch but far from the first time I’ve dealt with lithium-ion cells.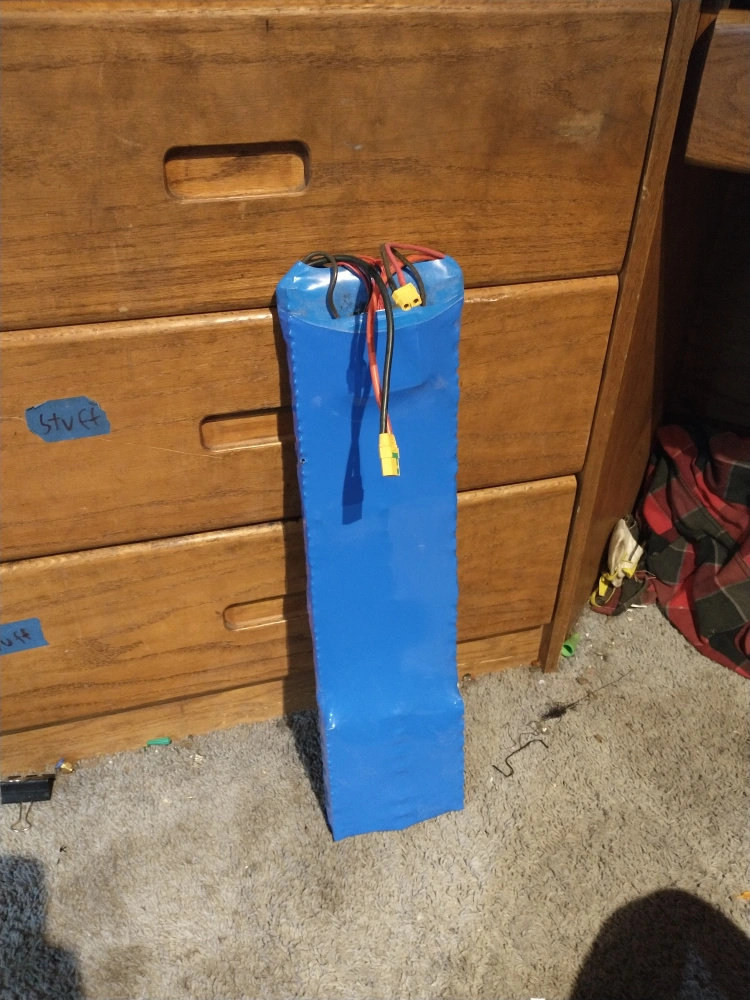
The cells are salvaged from old hoverboard packs. Every cell had to be checked but I had exactly 70 functional cells by the end. They’re welded with my homemade spot welder. It’s a rewound microwave transformer on which I may do a writeup later
Battery Box#
The battery box will be fiberglass formed around a wooden plug. The plug is painted and waxed for release.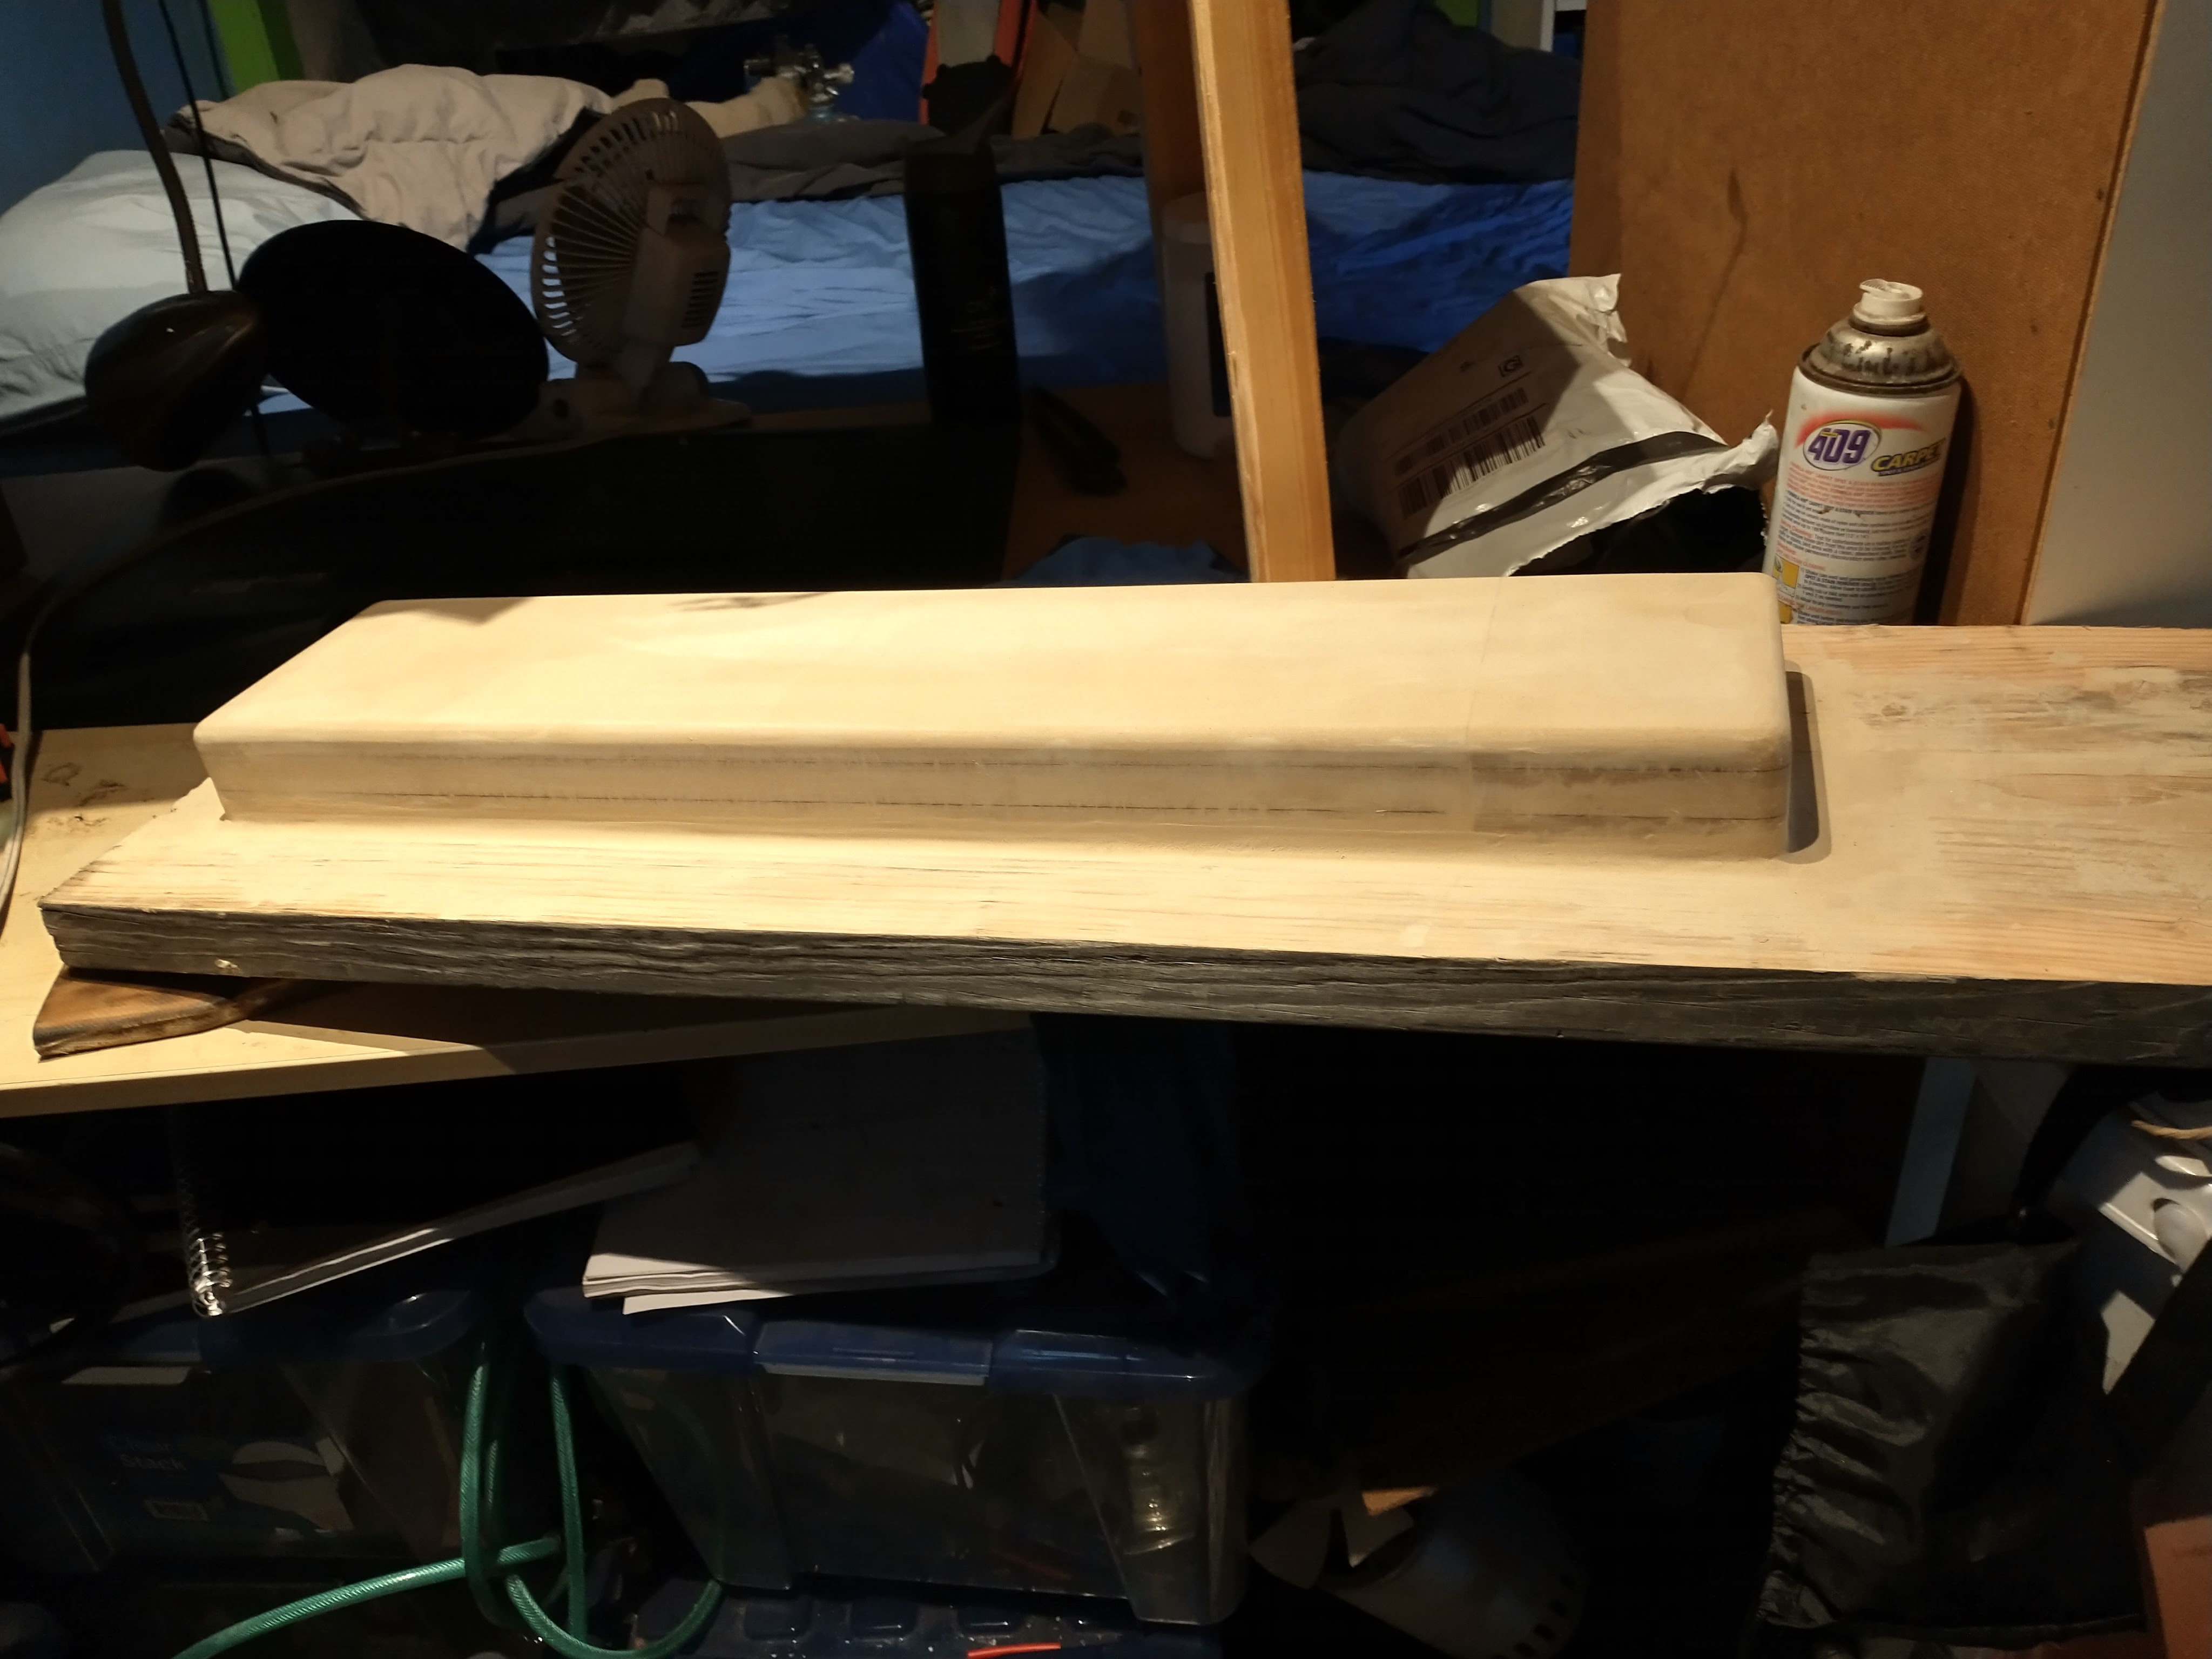
Perfect fit! Some foam for added padding and to hopefully deal with vibration. Dual Flipsky 4.12 VESC. 3D printed panel mounted XT60 connectors just for style.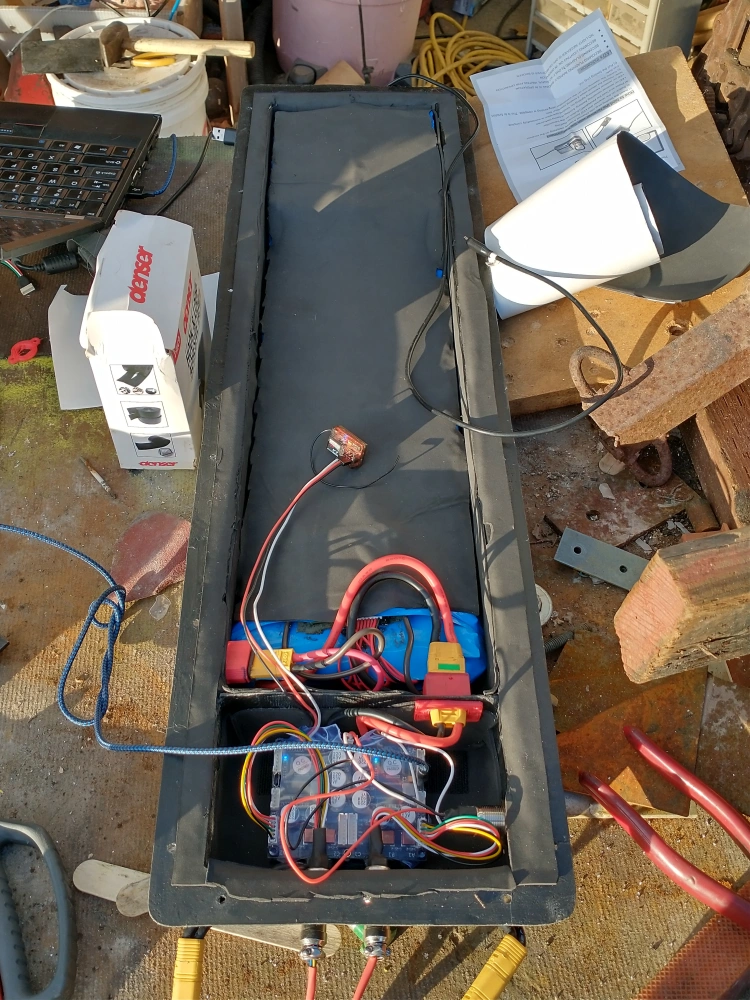
It is surprisingly hard to find panel mount connectors, but I wanted everything removable. In the future I think I may go with bulkheads and connectors on short pigtails. In any case, I ended up with 5 pin aviation plugs for the hall sensors and MT30s for the current carrying motor wires.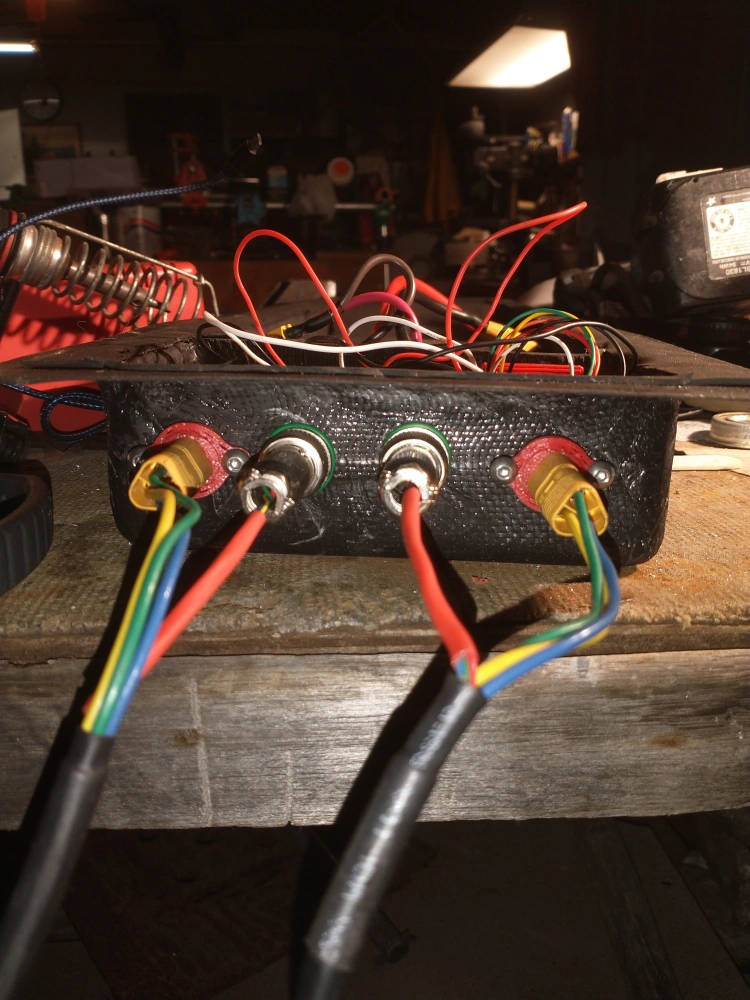
Clearly the board is now far too small to fit the battery box. My father found some 1/4in aluminum at the harbor so I’ll be cutting out an aluminum deck next. Circular saw and jigsaw should do nicely with the right blades.
All the Metal#
I originally planned to machine and waterjet aluminum for the suspension. However, with campus closed, my available tools were reduced to a mini lathe and hand tools. I ended up building nearly everything from steel using printed paper patterns. It worked reasonably well, but obviously the board is quite heavy - somewhere around 67lbs.
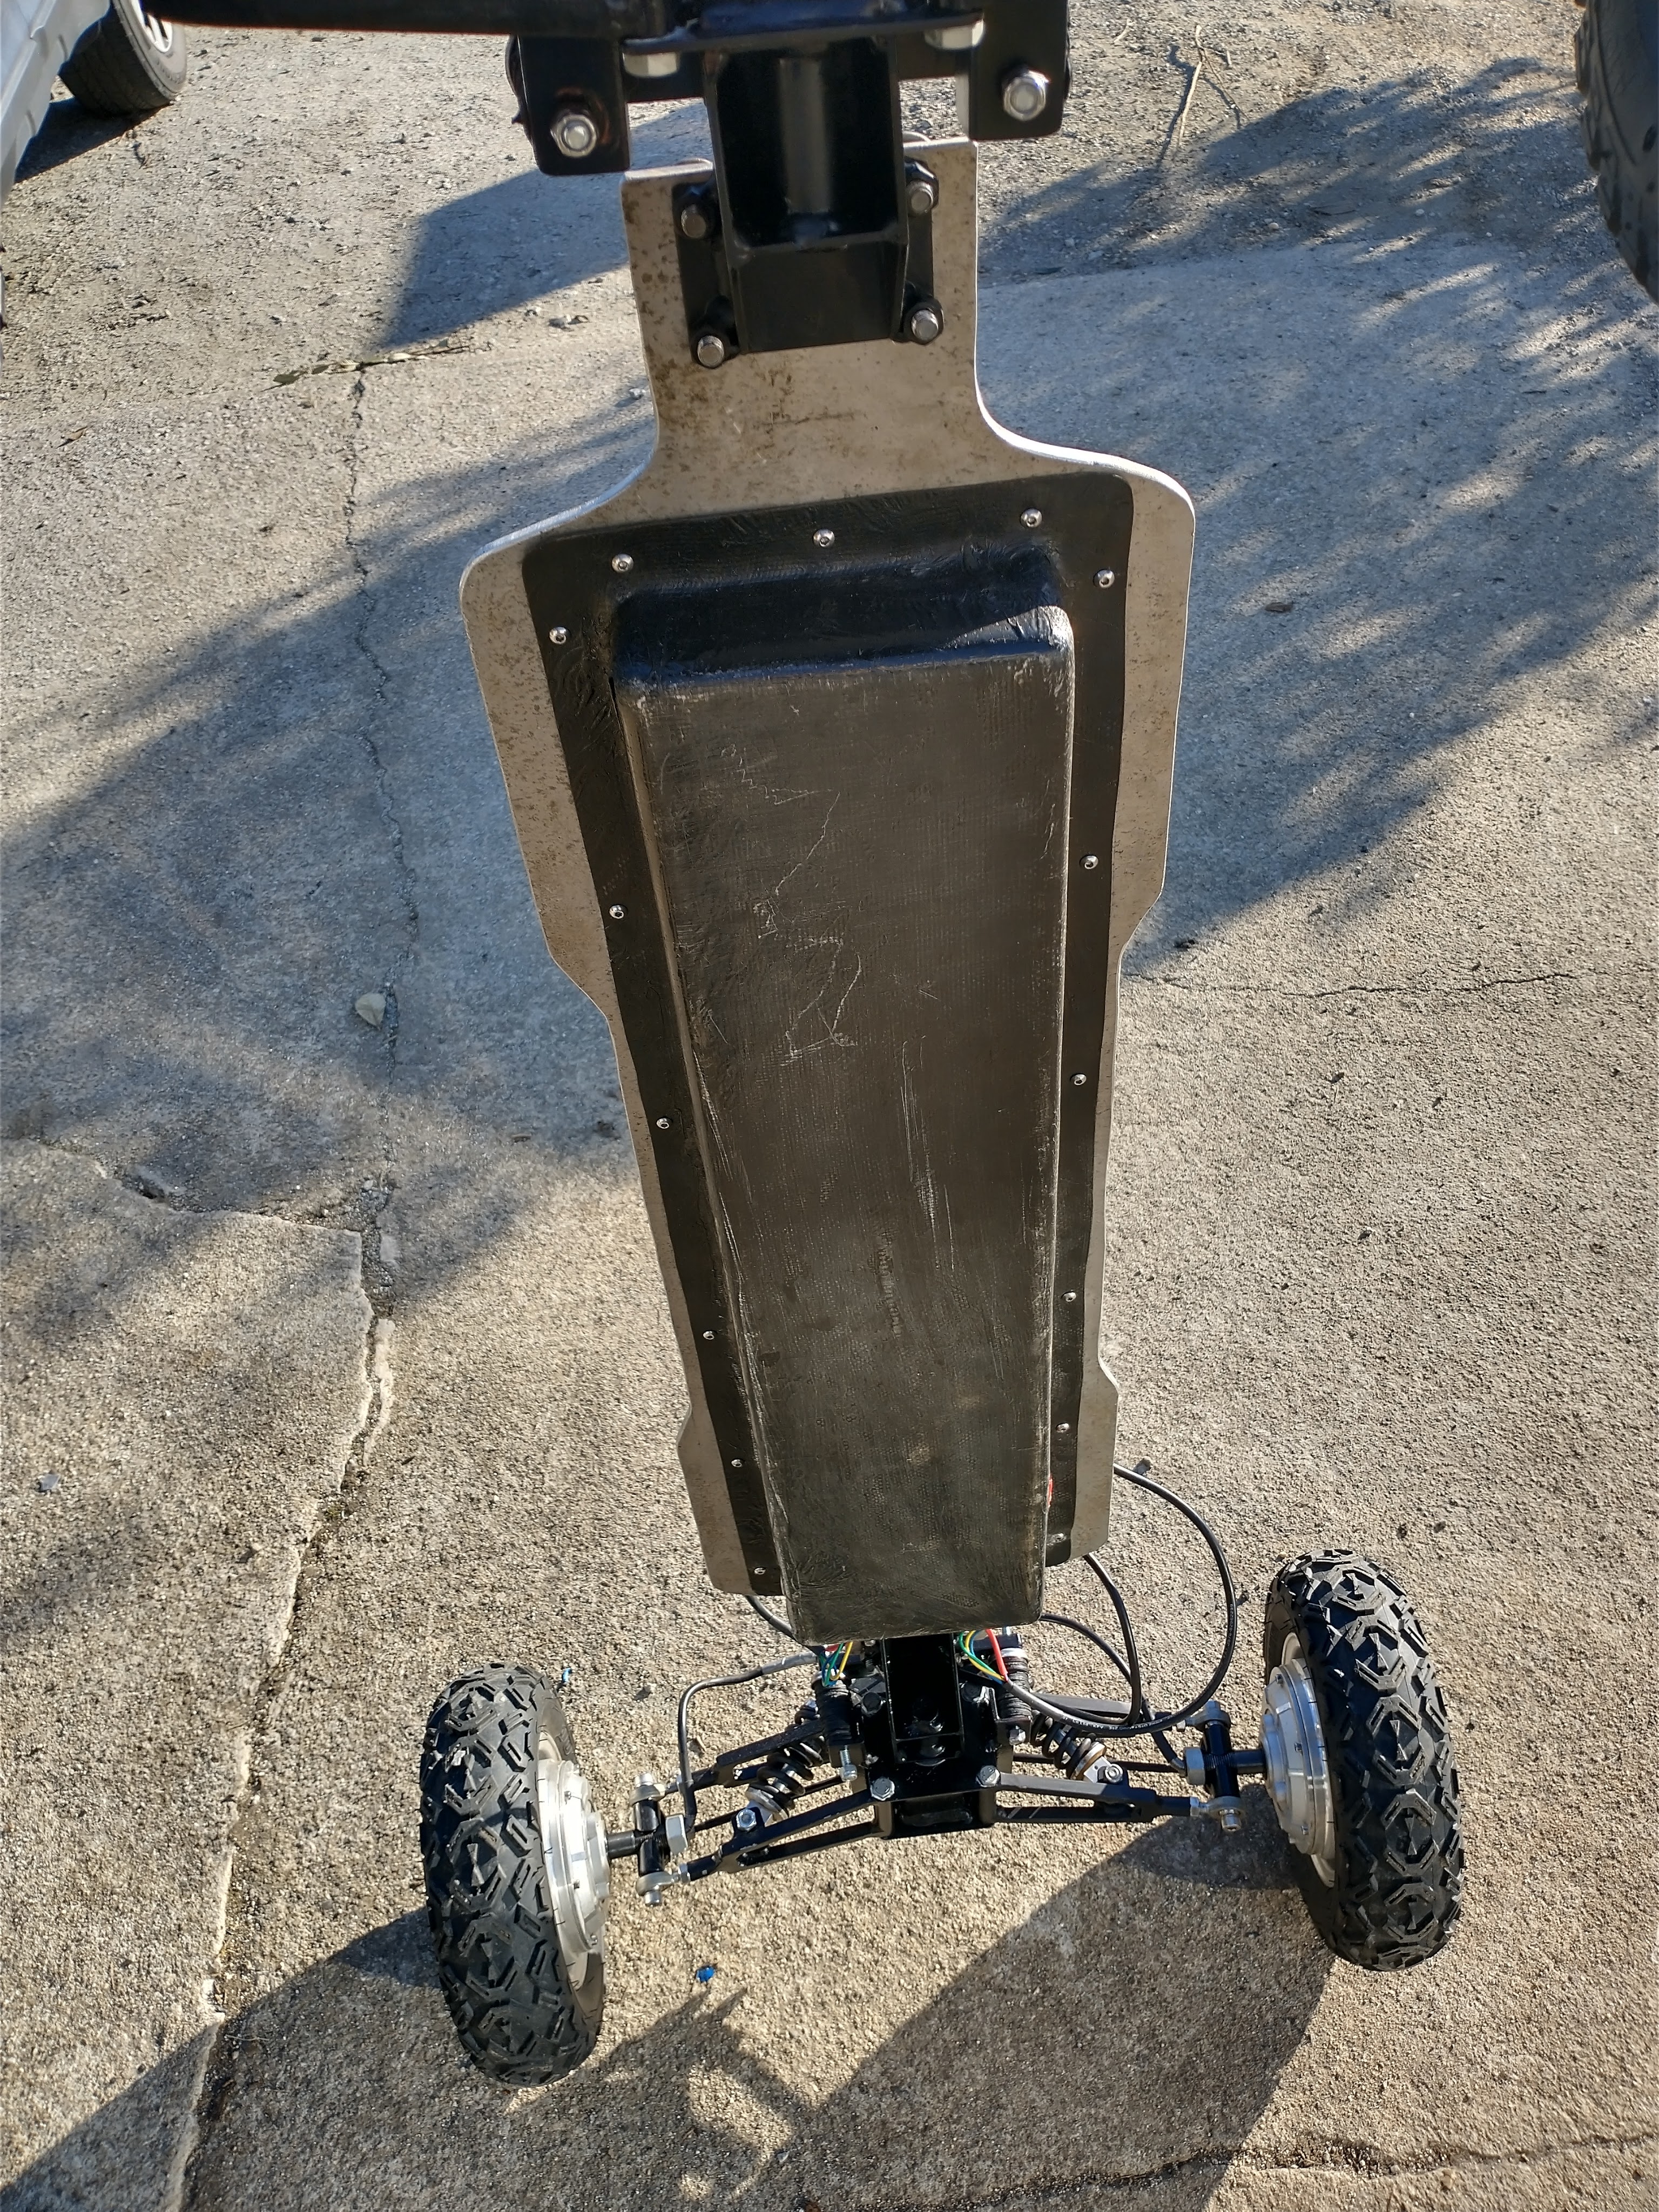
The hub motors work reasonably well. I think I’d stay away from hub motors on any future skateboards, they’re just far too heavy for this sort of use. Geared hub motors would maintain the simple power transmission with a bit more torque. I can still climb hills with a bit of speed and it handles the trails just find.
Riding and Testing#
Clearly it does okay. Apparently full face helmets are more or less a requirement for esk8. Something about how skateboarders fall at higher speeds leads to a higher risk of impacts to the jaw and back of the head.
Here’s a better view of the suspension. The board itself is much more rigid than a standard longboard. The suspension comes from the shocks rather than the board itself. The trucks could actually be implanted on any board.
Future plans:
Needs more low speed torque, maybe an actual transmission system. That would require a non-hub motor and added complexity. I plan to look into a tadpole trike style for simplified power transmission and possibly better turning. For now, the motor mounts need to be improved. The shafts seem to be slipping.